Monday, July 11, 2011

Giveaway Today!

For my second giveaway I have been forced prompted to offer a new bag!  It will be similar to the one I made earlier (pictured below).  I have some different fabrics to choose from and you can choose longer or shorter straps. You can also choose to omit the bow.  I wanted to make this giveaway a little more "user friendly" for my readers. 
The rules are the same.
1. One entry for following my blog.
2. One entry for posting about it on your blog or Facebook.
3. One entry for every person you get to follow my blog. Meaning, when you make the comment, tell me "I got so and so to follow your blog".

Remember to leave a separate comment for each item.  The giveaway will end Thursday at midnight.  That way I have time to actually make the purse and send it out before we leave for Washington!
Good Luck!

Flip Flop Straps

Landon has always hated flip flops.  I bought him a few pairs when he was little and he refused to wear them, much to my dismay. 

Enter this Summer...
While buying Savanah a few new pairs at Children's Place, Landon asked if he could pick out a pair, too.  Shocked, I obliged and forced guided him to the right pair.  The only problem was that he couldn't really walk in them.  We tried a few times, but it wasn't pretty.  I promised I would add straps so he could wear them, and that is where Ashley enters once again!  She has a great tutorial for adding straps to flip flops.
The only thing I changed was I had the straps snap on the inside of the shoe rather than the outside.  I like a cleaner look. 

Saturday, July 9, 2011

Pacifier Holder: My Version

So yesterday I mentioned that I tried out Ashley's pacifier holder tutorial over on the Bernina website.  As cute as hers turned out, mine did not.  Don't pretend that you all didn't silently judge me when you saw this picture.  It's okay... I don't blame you.

Instead of wallowing in my own pity and eating more than four chocolate chip cookies, I decided to make my own version.
I started by cutting my squares.  This is one part that I found to be a ton easier.  Rather than having to pin and cut all the pieces, I simply was able to use my mat and rotary cutter.  Much faster!

Cut out two pieces of your outer material and two pieces of your inner material to 4 1/2" L x 4" W.  Also cut one piece of your outer material and one piece of your inner material to 4" W x 2 1/2" L.
Start with your smaller flap pieces.  I took the two pieces and cut an angle on the sides.  You can do this however you like.  I cut off a small portion so the angle was not so sharp.  With right sides together sew around your flap leaving the wider side of the flap open.
Trim around the edges and remember to cut your corners at an angle so that they are pointed.  You can see this example below.  You can also see how I left the top unsewed. (Is that a word?)
Now take your pocket pieces.  With like fabrics right sides together sew around three sides leaving one of the 4" sides open.  Trim the edges.
Next you are going to box the corners.  Char gives a pretty good example on this tutorial.  How much you decide to take off is up to you.  I took off about 1/2".  After sewing across your fabric, trim off the excess material just like Char did on her tutorial.
Do this to both sides of each pocket.  Both should look like this.
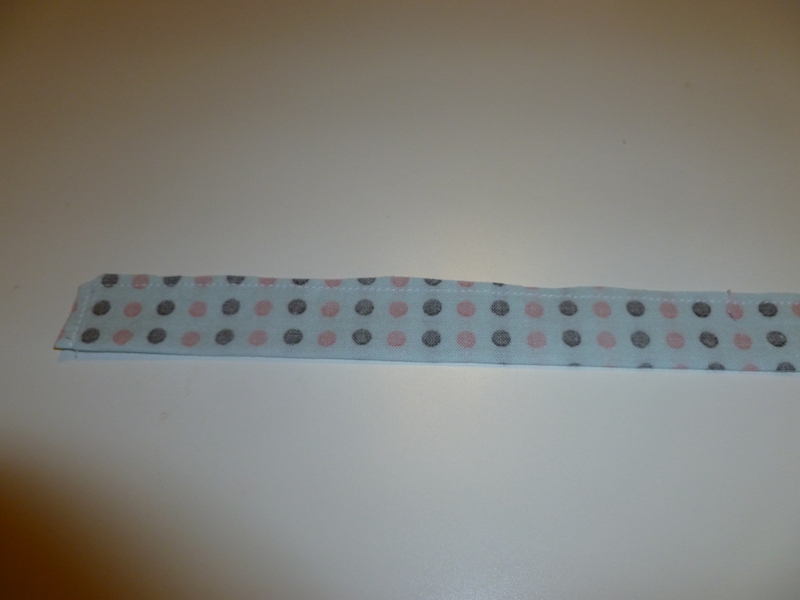
To make the strap I cut out a piece of material that was 2" x 8".  Fold in half right sides together and iron flat.  Sew two sides closed leaving one of the short sides open so that you can flip the material.  Trim your edges and flip your material right side out.
Press both the strap and the flap with your iron.  Make sure your corners are pointed out.  I use anything that is pointy.
Take your outside pocket and turn it right side out.  Pin your flap to one side and your strap to one of the side seams.
Place your outer fabric with both the flap and the strap still pinned and place it inside the other pocket which is still wrong sides out.  Sew around the the sides making sure you catch the flap and the strap.  Leave about an 1" to and 1 1/2" open to turn your fabrics right side out.  Use Ashley's tutorial to follow the remainder of the construction.
Bonus!!!  At Walmart I found these super cute pearl snaps.  I used them for the front snap and used basic snaps for the sides.  I think it adds something extra cute.
Watch for a new giveaway starting tomorrow!

Friday, July 8, 2011

Pacifier Holder

Make It and Love It recently posted a tutorial for Bernina on how to make a pacifier holder.  When I had Landon he would only take the Soothie pacifiers.  At the time we lived in Rexburg and they were very hard to find.  Within the year that he used them we went through close to thirty.  No joke!  It seemed like every where we went we would lose one.  Granted when we moved from our house in Idaho we did happen to find a few behind the crib!
The tutorial was easy to follow and required very little material which is great for all those scraps.   BIG issue I had was sewing the curved pieces together.  It might be that I am just a tater tot, but I could not make it look good.  My pieces refused to line up on both sides, no matter how many times I pinned it.
Because of this frustration I came up with another version.  So, head on over and try out Ashley's tutorial, or stay tuned for my tutorial coming tomorrow!

Thursday, July 7, 2011

Shirt to Dress

I usually go through my closet every month and get rid of things I haven't worn in a while.  I used to just toss it into a pile and then take it to the DI, but sadly no DI in Cheyenne. (Oh how I miss the DI)   Instead I try to figure out if I can reuse the item and make it something better. 
I bought this shirt a few years ago from AE and really loved it.  Unfortunately over the past years the armpits have turned a little yellowish. (Don't act like you don't have shirts with the same problem!)  Instead of throwing it out I figured I could turn it into something for Tana. 
I started by cutting up the side seams on the shirt.  I did this with basic sewing scissors instead of a seam ripper because I didn't need it to be a clean line. 

I decided how wide I needed each piece to be.  Savanah is about 21" around the bust so I used that as a guide.  I also made my cut at an A-line so that it would flow out like a dress.

To cut all the pieces may take a little bit of time.  You want to make sure that they are equally spaced from the middle of the shirt and that both pieces are the same width.

Place pieces right sides together, lining them up at the bottom.  I didn't do anything to the bottom of the shirt so that I would already have a finished edge, but if you need the dress shorter, you would fix that.  Mark on each side where the armpit of your child would be.  Now sew up the sides making sure you DO NOT sew past the armpit marks.
To make the shoulder straps I measured around Savanah's shoulder to see how long I needed them to be.  After I had this measurement I cut my two pieces accordingly.  This meant trimming off some of the front straps and the back straps.  I then lined up the front and the back right sides together and serged across them.
To finish off the outside raw edges of the arm openings, I made bias tape out of the leftover material.  If you don't have any leftover material you could use some coordinating fabric.  I wanted my bias tape to be a little thicker, so I cut mine about 2 1/2 inches wide.  I did not measure how long the piece was, I only made sure it would be long enough.
Create your bias tape be folding the material in half hot dog style and ironing flat.  Open the pieces, fold each side to the middle, and iron flat again.  Fold in half again with the two sides still ironed towards the middle.  It should look like the picture above.  If this makes absolutely no sense (which I am pretty sure it doesn't) Google "making your own bias tape". 
I started pinning the bias tape to the arm openings at the bottom of the opening.  I left a little bias tape hanging over the edge to make sure I would catch both ends.  Pin your bias tape all the way around the opening until you reach the point at which you started.  Sew you bias tape into place.

Using the spot where you marked the bottom of the armpit, sew the two ends of the bias tape together.  To do this I started serging from the outside and went towards the middle, at an angle, meeting up with the side seam.

My little model was sleeping when I finished this, so you don't get the full effect.  I think it will look awfully cute with a skinny belt around it.  Enjoy!

Wednesday, July 6, 2011

Hair Clips

Remember this post?  The earrings turned out to be super cheap and you can totally customize them.  While on another trip to HL I decided to scan the jewelry section to see what else I could find.
These little babies caught my eye, so I snatched them up for 1/2 off!  If you notice the original price was $2.99 which means I bought them for $1.50.  You may also notice that there are 18 bobby pins in the package.  Now because of my great love for math that equals to about $0.08 a piece.  Craziness!
Then I busted out my E6000 (which I LOVE way more than Gorilla Glue!) and rummaged through my brads to find a couple that would work.
So cute and so affordable! 

I have tried making bobby pins before with the typical ones you buy at Walmart. They never work out. You end up wasting a lot of the bobby pin to glue on the embellishment.  And they really don't hold well.  These hold great.  Enjoy!

Tuesday, July 5, 2011

I'MMMMM BAAAAACK!

 I have been a different kind of busy these past couple of weeks.  First, finishing my Master's degree... WOOT WOOT!!!  You have no idea I happy I am to be done.  I. AM. DONE!

Second, between my calling at church and finishing up a bunch of sewing projects for other people, I just haven't had time to blog.  I have however been working on a bunch of projects.  Mostly sewing, but I do have a bunch of other crafts ready to go.  Now if only my husband would buy me that hand sander I want.

I ran across this post the other day while blog hopping.  I liked the idea of this simple purse, but I decided to shorten the straps a bit.   
I intentionally wanted to add the bow to the top where the seams meet.  I had this great idea in my head about how it would look like the pink parts would meet and then tie in a bow at your shoulder.  Needless to say, I tried about twenty different ways to make it work and after picking out the seams twenty times, I gave up!  Instead I made it a bow on the front.  Not what I originally planned, but it works.
Enjoy!